


I just came across this wonderful graphic on the science of Roti Prata called “Pratology”. This illustration shows you the variations from the plain roti prata, all the way to the dessert variety. I could use a tissue prata right now!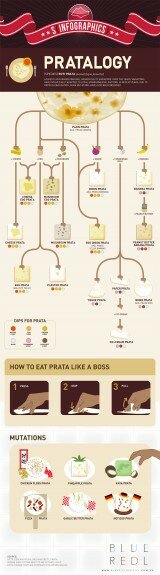
Archive for the ‘Food’ Category
Singapore Eats: Pratology
Singapore Eats: Murtabak
We’ve decided to do a short series on Singapore Eats. Singapore is a food capital of Asia. We’re a food-obsessed bunch and food is the center of everything. Because of our ethnic diversity, Singapore is lucky to have local foods influenced by the Chinese, Malay, Indians and Eurasian communities in Singapore.
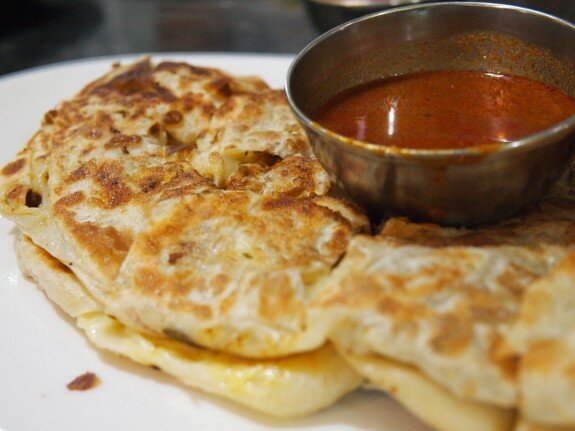
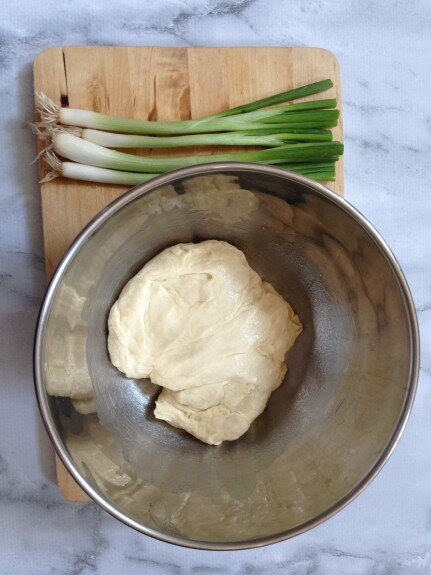
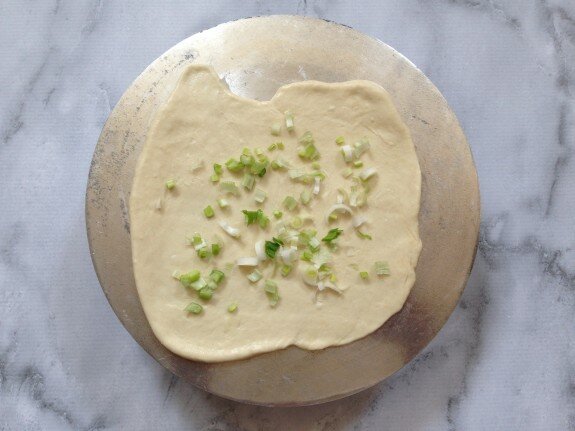
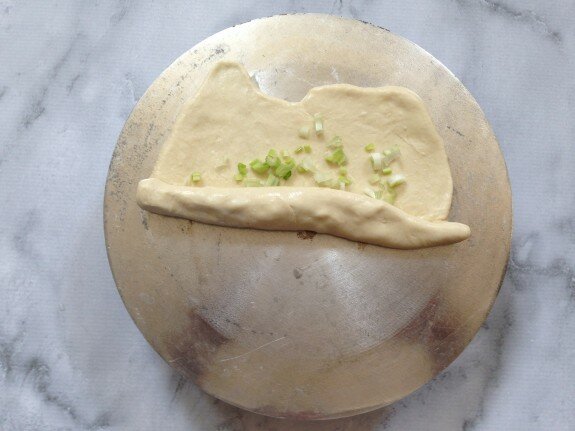
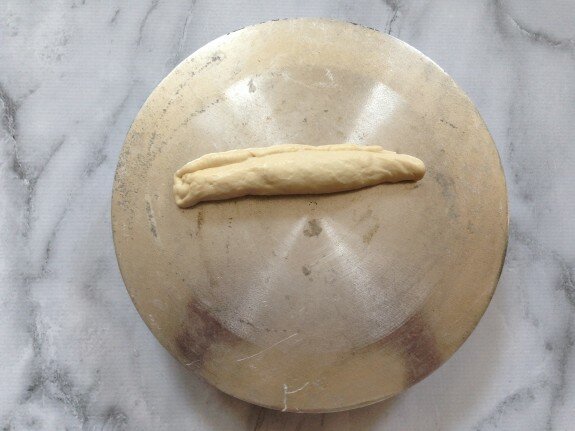
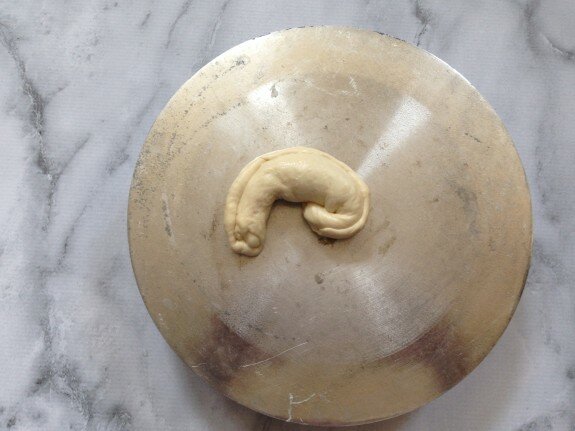
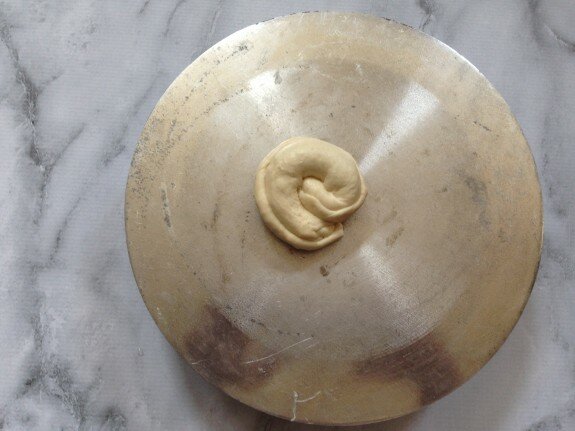
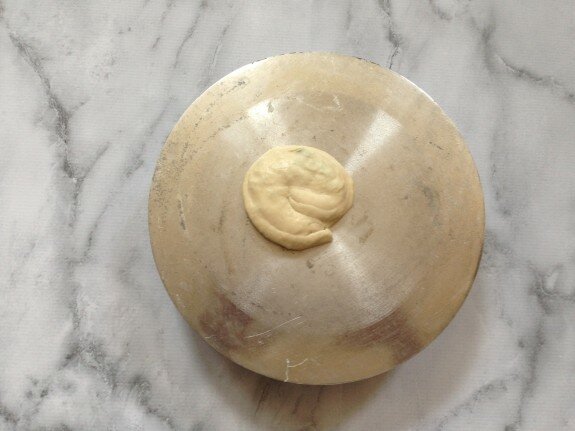
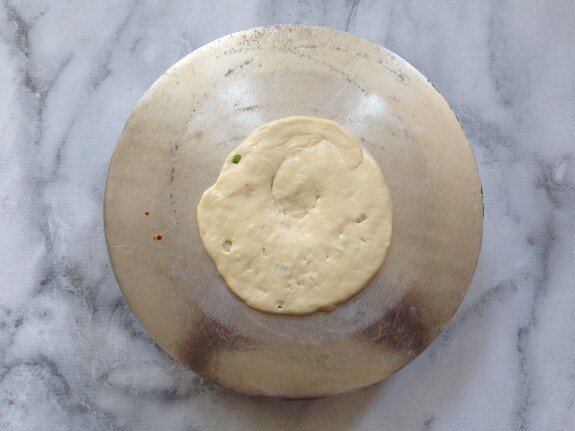
After the success of the recent scallion pancakes, I thought I’d try to make a variation on the scallion pancakes called Murtabak. Murtabak, which is spiced mutton (or lamb) filled dough is something i grew up with in Singapore. Back at home in Singapore, people eat this for breakfast or lunch. Each dough is filled with an egg, raw onions and ground spiced mutton. This is usually served with a fish or chicken curry. Simply divine!
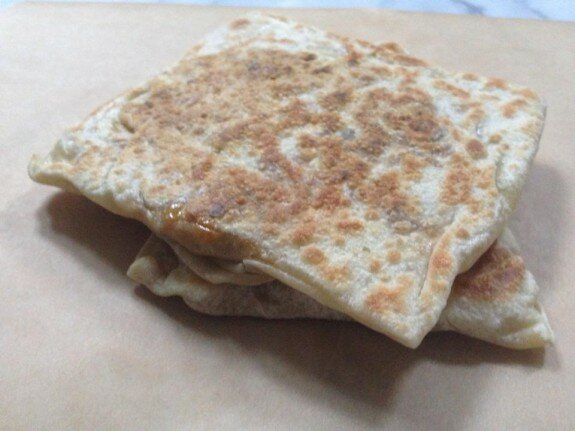
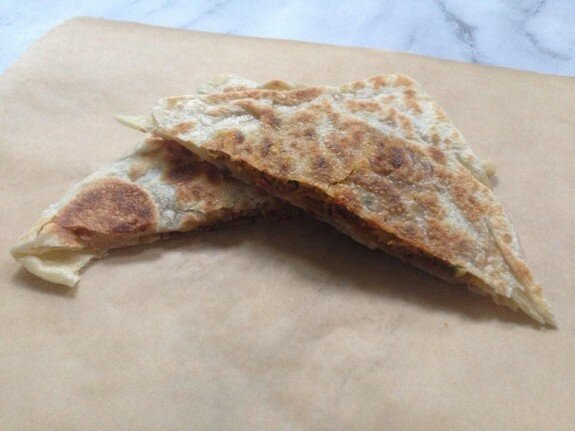
Here in Singapore, this is how Murtabak is served. I could eat platefuls of these!
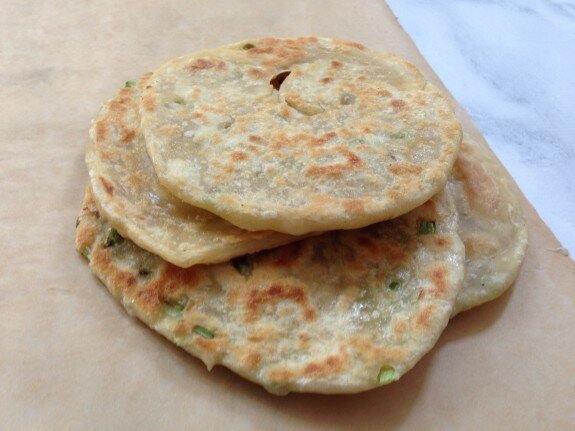
Homemade Scallion pancakes!
I decided to try my hand at homemade scallion pancakes. They were really quite easy to make and a delicious afternoon treat for my son after school. There are a ton of recipes on youtube you could follow. Give it a try!
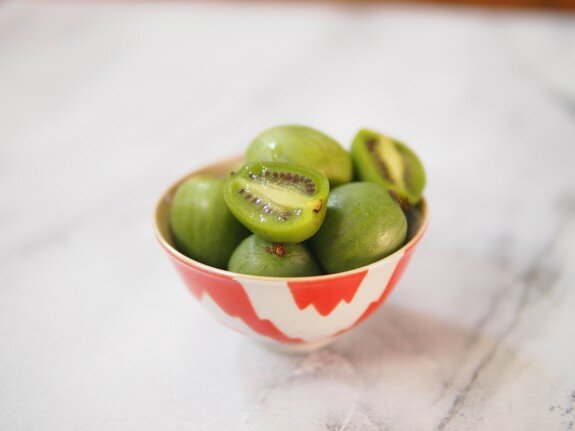
Kiwi Berries
I was at my local korean supermarket today and found a fruit I’d never heard of! Growing up in South East Asia, we were lucky to have all sorts of fruit, both local to the tropics and imported from abroad. So today, I was rather stumped when I came across these tiny grape-like fruit called Kiwi Berries. I’d never heard of it! So i bought a small container, did a little research and discovered that they’re native to Japan, China, Korea and some parts of Russia. They resemble the kiwi fruit both on the inside and in taste too. Apart from the obvious size difference, the outer skin is edible on the kiwi berries, unlike the larger ones. I’m going to have to run out and get another pint! These were gone in a flash! (The bowl can be purchased here.)
Weekend Dessert – Chocolate Framboise (Laura Calder Recipe)
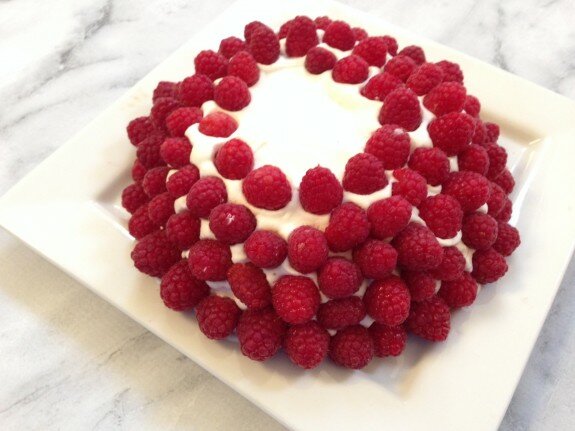
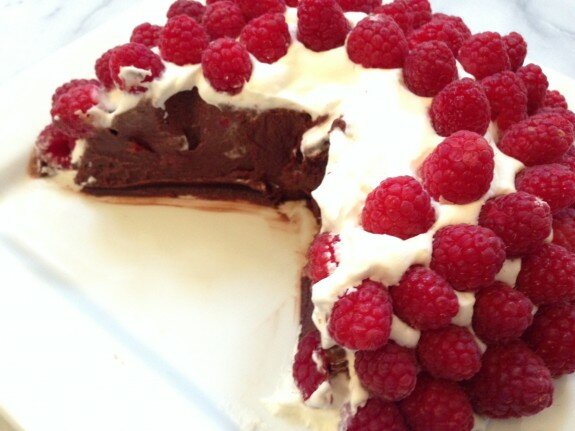
I decided to attempt this recipe this past weekend – Laura Calder’s Chocolate Framboise. It’s actually not that difficult to make. You’ll just have to make sure you buy at least 5 pints of raspberries (2 pints to puree, and 3 pints for the outside). I didn’t buy enough and ended up with a semi-decorated dessert. Still, the end result was incredible – incredibly indulgent and a little goes a long way!